Planning school menus can be a complex task. Using a cycle menu system can make the process easier while ensuring compliance with USDA guidelines. In this blog, we’ll explore what a cycle menu is, its benefits, and provide a step-by-step guide to effective cycle menu planning.
Have you ever heard the phrase “The menu drives everything?” If you haven’t heard it, it’s the quick way of saying that the cycle menu is the driving force for all aspects of your program operations. It is a set of planned meals that repeat over a specific timeframe, typically ranging from 1 to 6 weeks.
Using a cycle menu makes menu management easier while ensuring USDA nutritional requirements are consistently met. It helps you offer meals that are balanced in nutrition and cost-effective.
Benefits of a Cycle Menu
There are several benefits of having a menu of set meals that repeat over a specific time period. These benefits positively impact your students, staff, and ability to comply with USDA requirements.
Variety in Meals
Ensures a wide range of nutrients by cycling through a variety of foods and flavors
Prevents menu fatigue (aka “We’re having this again?”) for students by avoiding repetition in the short term
Cost Efficiency
Streamlines ordering by forecasting ingredient needs for the entire cycle
Reduces food waste through accurate forecasting and bulk purchasing
Increases meals per labor hour as kitchen staff become efficient with predictable tasks
Step 2: Determine the Length of the Cycle Menu for Each Meal
Common lengths include 1 week, 2 weeks, 3 weeks, 4 weeks, or 6 weeks. Consider factors such as school size, budget, storage capacity, and staff expertise.
Let’s use a 3 week cycle as an example.
This length of time can balance variety and increase staff confidence in the kitchen. For example, processing fresh vegetables for the first few times is challenging and time consuming until skills are mastered. Overtime, staff knife skills improve resulting in staff confidence and time savings
Keep SKUs to a minimum so you don’t have to manage a lot of inventory. For example, you don’t need five types of chicken nuggets when one will work.
Step 5: Finalize Food Item Selection and Recipe Standardization
Choose food items and standardized recipes to ensure each day includes diverse flavors, textures, and colors to appeal to students. Kids choose with their eyes first!
Check for repetition within the cycle and adjust as needed. You don’t want to have two chicken dishes with similar flavor profiles back to back, such as chicken tacos on Tuesday and chicken enchiladas on Wednesday.
Here’s an example framework:
Step 6: Test and Refine
Pilot the menu with small groups of students to gather feedback. Make sure the group is representative of the student population who eat in the cafeteria.
Adjust recipes, portion sizes, and presentation based on feedback.
Step 7: Develop Marketing Plan and Provide Staff Training
Set clear marketing goals and objectives. When trying to increase participation, train staff on your marketing plan and have healthy competition between schools to see who can increase the number of meals they serve. Remember, getting your staff involved in creating goals and objectives gets their buy in.
Train staff in marketing their menus to students. For example, instead of saying, “You have to take a fruit or a vegetable,” the staff could say “Would you like to try the Tasty Tangerines or the Crunch Rainbow Salad, or both today?” Or how about making it even more fun teach your students to sing, “Red rover, red rover, send a fruit and vegetable right over!”
Train staff on new products, recipes, and production records, including culinary techniques and portion sizes.
Step 8: Monitor and Update
Use production records and participation rates to evaluate the menu’s success. Update the cycle seasonally to incorporate new ingredients and address changing preferences.
For example, using USDA frozen strawberries in yogurt parfaits in the winter and replacing them with fresh strawberries in early spring. Also, replacing the student favorite cucumbers with sugar snap peas on the menu in peak season in March and April so they don’t get burned out with cucumbers.
Tips for Success in Cycle Menu Planning
Besides following the above steps, there are other actions you can take to find your success in planning your menus.
Incorporate Student Preferences
There are several ways to gather student feedback. You can conduct taste-testing sessions or use surveys or focus groups to identify favorite dishes and areas for improvement. Have a day or two set aside for a vendor food show with students to see what items engage and excite them. You can request samples from your vendors for the show.
Highlight Themes or Special Days
Introduce fun themes like “Taco Tuesday” or “Globally Inspired” to create excitement. If you are involved in Farm to School, you can use “Harvest of the Month” to showcase local food. An online search for “harvest of the month farm to school” will bring up several resources for you to use.
Work with suppliers to source cost-effective, compliant ingredients. Ask vendors for creative ways to use their product. Vendors often have recipes on their website or showcase how other districts are using their products. Check to make sure the recipes are standardized for school nutrition.
Plan the Menu Calendar with Data
Use the school calendar to ensure you are forecasting for actual days students are in school. Consider field trips that would require alternative meal preparation and holidays and weather patterns that may keep students home. Analyze your participation data by factors such as day of the week and time of the year to see when students are eating in the cafeteria.
Examples of Cycle Menu Frameworks
3 Week Cycle Menu Entree Choice Example
Week 1: Spaghetti with meat sauce, chicken quesadilla, veggie stir-fry
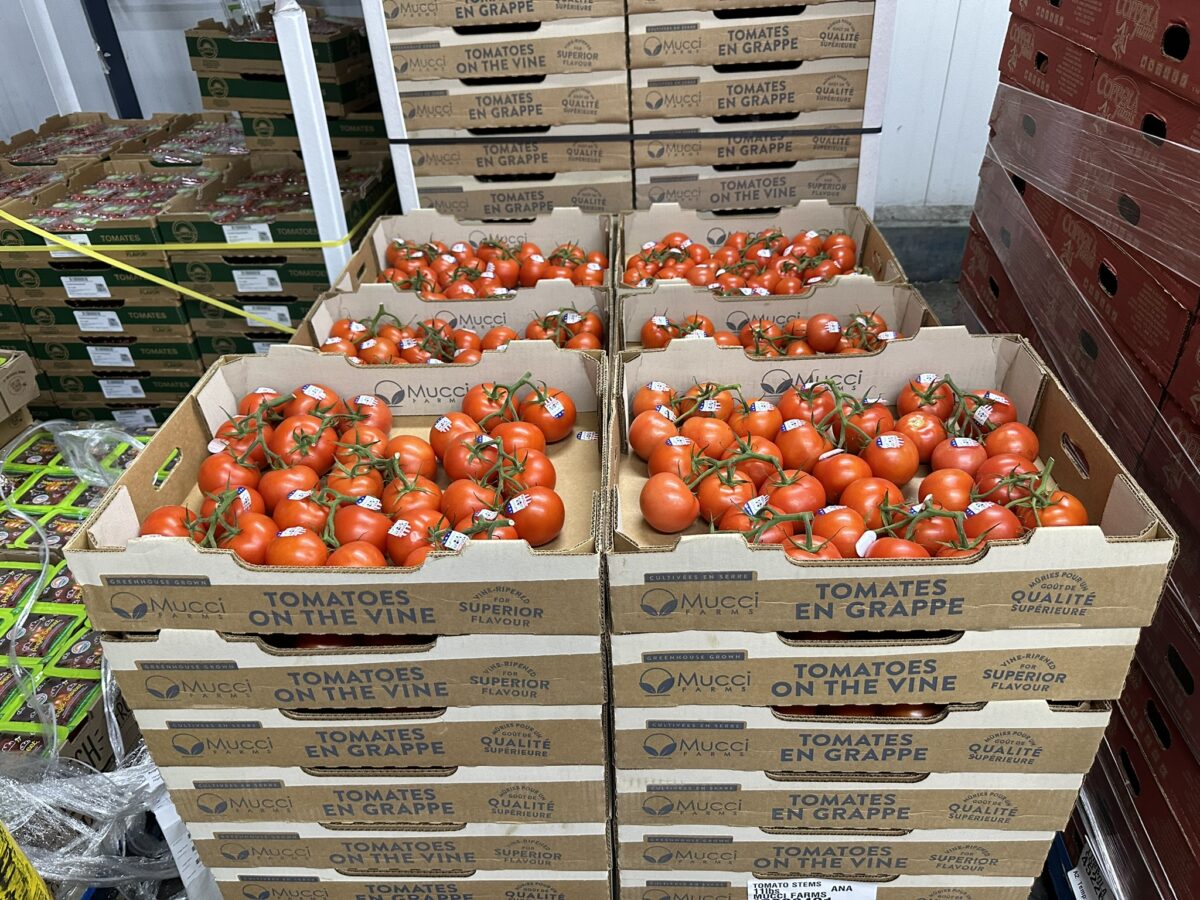
Incorporate fresh produce in your planned menu items to take advantage of local produce and USDA Foods.
Spring: Fresh strawberries, apricots, and cherries
Fall: Fresh cantaloupe, grapes, and pears
Winter: USDA frozen strawberries, USDA canned apricots, and USDA dried cherries and fresh oranges and clementines, kiwi, apples
Cycle menus are essential for balancing variety, cost efficiency, and compliance in school nutrition programs. While you are leading the cycle menu development, ask for input from your staff and students. Gathering feedback engages them and hopefully gets them to buy-in. You may not get the perfect cycle menu the first time so evaluate and refine as you go.
Remember to be flexible because you can’t control everything in the supply chain. By following this plan and USDA requirements, you can create balanced, nutritious, and exciting meal plans for your students.


