Farm to School Month: Growing Healthy Kids, Strong Farms & Thriving Communities
October 6, 2026
Scratch cooking can lower food costs, lift participation, and give students meals your team is proud to serve. But a scratch recipe only delivers those results when it turns out the same way in every kitchen, every time. That is the job of standardized recipes for scratch cooking.
The USDA Recipe Standardization Guide for School Nutrition Programs, developed by the Institute of Child Nutrition, walks you through the standardization process step by step. What it does not cover is the groundwork that comes before step one.
Skip that groundwork, and you may end up with standardized recipes for scratch cooking that look right on paper but cost too much, take too long, or don’t fit your students. SproutCNP’s Chef Brenda Wattles, RDN, shares the prep work she recommends before testing any recipe.
Build the Math Foundation for Standardized Recipes for Scratch Cooking
Every standardized recipe is built on numbers: weights, volumes, conversions, and yields. A small math error at 25 servings becomes a big one at 500.
Common mistakes include:
- Confusing weight ounces with fluid ounces. A fluid ounce measures volume. An ounce on a scale measures weight. They line up only for water and liquids with similar density.
- Converting ounces to pounds. There are 16 ounces in a pound, so 40 ounces is 2.5 pounds, which is 2 lb 8 oz on a scale. That concept can be confusing.
- Switching between metric and U.S. customary units. One ounce is about 28.35 grams. A recipe from another source may list grams while your scales and purchase specifications use ounces and pounds.
- Rounding too early. Rounding mid-calculation instead of at the end throws off the final amounts. It is important to know the USDA rounding rules in various steps of recipe standardization.
Before your team starts standardizing, make sure everyone involved is comfortable with these conversions. SproutCNP’s course Culinary Math Behind School Meals covers the math your school nutrition staff uses every day.
Know Your As Purchased and Edible Portion Yields
As Purchased (AP) is the weight of a food as you buy it. Edible Portion (EP) is what is left after you trim, peel, core, or cook it. The gap between the two decides how much you need to order.
The USDA Food Buying Guide for Child Nutrition Programs is the main source for this yield information. It helps you figure out how much food to purchase and how each food EP credits toward the meal pattern.
Onions: One Ingredient, Different Yields
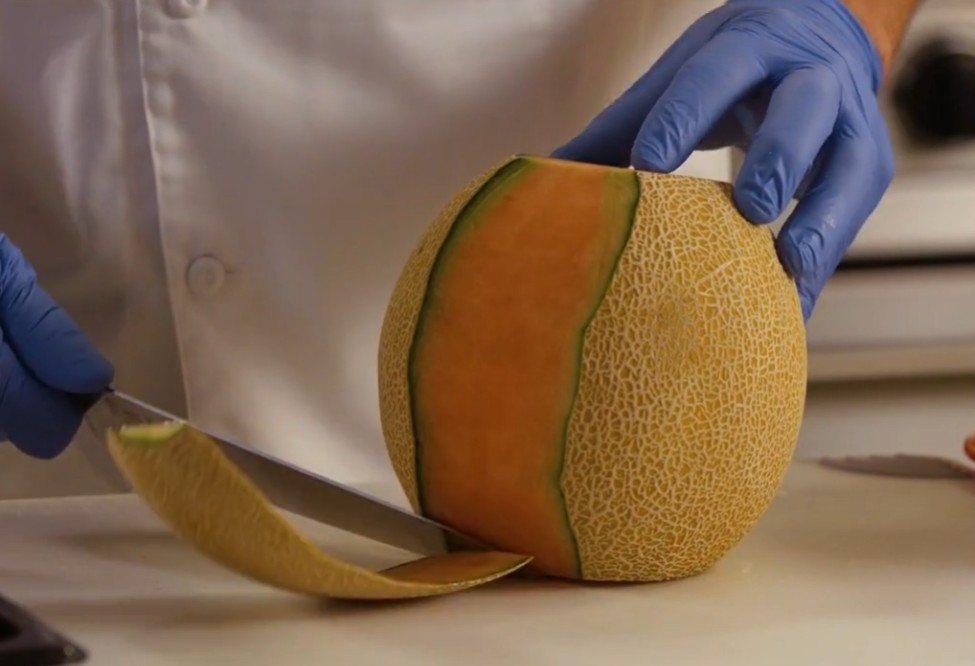
Onions show why the form you serve matters. Raw diced onion in a fresh salsa keeps most of its volume. Onions sautéed for chili lose moisture and shrink in the pan. The recipe has to be built around the form students actually eat, not just the amount you bought.
The Food Buying Guide Is a Guide
The yields for whole and minimally processed foods in the Food Buying Guide are a starting point. Your products, equipment, and staff may produce different results. Test the recipe against the guide: prepare it, measure what you actually get, and compare the serving size to what the guide predicts. If your numbers are consistently different, document it and talk with your state agency.
SproutCNP’s course Process, Cook, and Serve: The Skill of As Purchased and Edible Portion walks staff through these calculations with real kitchen examples.
Check Knife Skills Before You Count on a Yield
Yield depends on the person holding the knife. Peeling too deep, leaving usable product on the core, or cutting pieces unevenly all reduce how much food makes it into the recipe.
When yields come in low, you have two choices:
- Buy more product, which raises food cost.
- Run short, which means the recipe is not made as standardized.
For example, if your recipe expects a set amount of diced carrots from a 10-pound case and your team consistently gets less, every batch either costs more or comes up short.
Standardize recipes with the same staff who will prepare them day to day. If knife skills vary across sites, build hands-on training into your rollout plan before you set final yields.
Test Processed Products to Determine Actual Yield
When using processed foods in your recipes, be sure to verify the yield. Many processed foods come with a product formulation statement (PFS) or a Child Nutrition (CN) label and a nutrition facts label that provides the number of servings and service sizes with their products. It is still essential that districts verify that what the label states is actually giving you the desired yield. Especially when you are preparing the food in a different way than recommended by the manufacturer. For example, if you are using a seasoned shredded pork for tacos and you drain the liquid, your yield will be less than what the package is telling you.
Plan Labor Into Standardized Recipes for Scratch Cooking
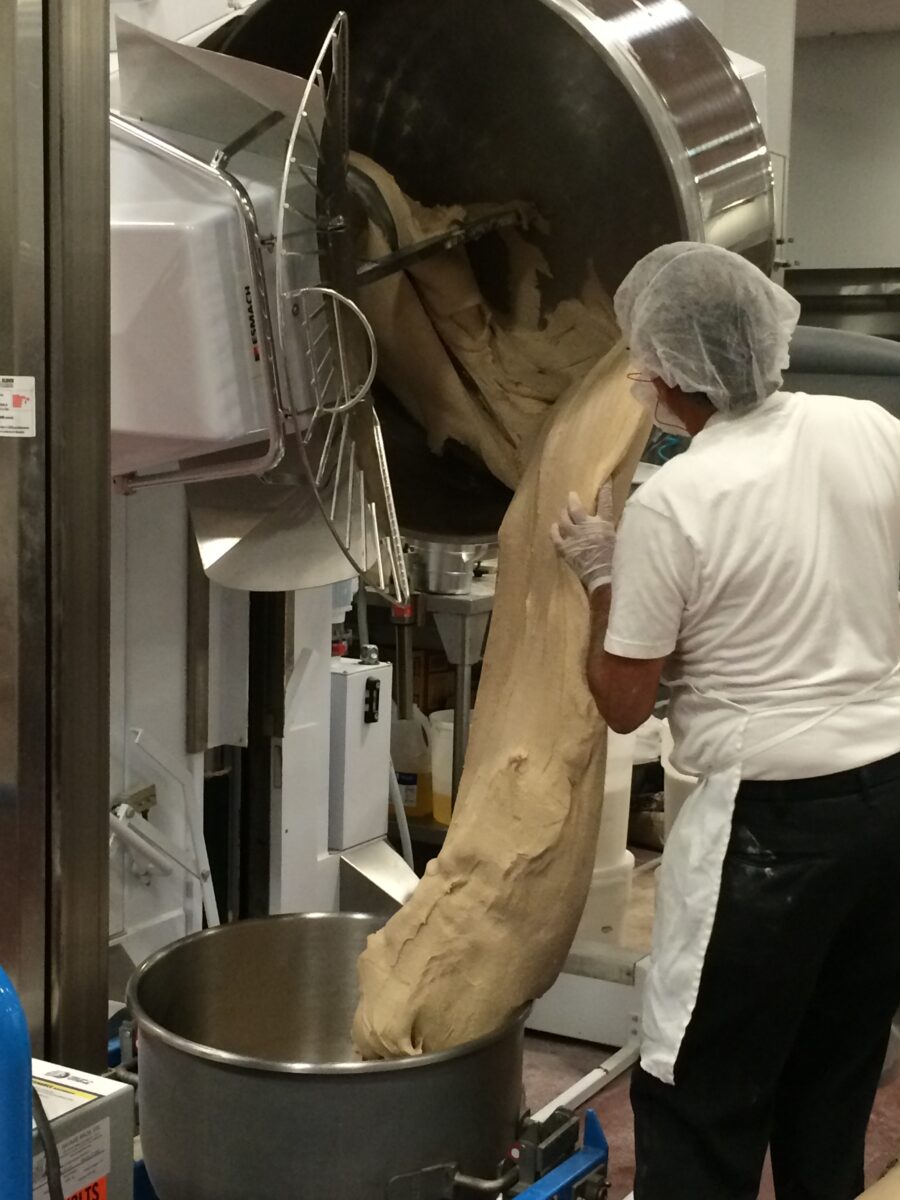
A standardized recipe for scratch cooking also has to work operationally. Before testing, ask:
- Is this recipe feasible with our current staff and equipment?
- Do staff have the time to prepare it during the production window?
- Where does it fit in the day’s work schedule?
This is where time standards, work schedules, and meals per labor hour (MPLH) come in. MPLH is the number of meals or meal equivalents produced divided by the total labor hours used to produce them.
MPLH changes with production type. A kitchen serving mostly heat-and-serve items can reach a higher MPLH than a kitchen doing scratch prep, because scratch cooking takes more hands-on time.
If you replace convenience items with scratch-made items, adjust your MPLH targets and staffing plans as part of standardization, not after the menu launches. A from-scratch chicken tender, for instance, adds breading time for every serving.
The Work Schedule and Staffing Calculator tools in SproutCNP’s Online Training Membership can help you map that labor before the recipe reaches the line.
Look at Purchasing, Storage, and Plate Cost
Scratch cooking changes what you buy and where you store inventory.
- Bid items: More scratch recipes usually mean more raw ingredients on your bid. More SKUs need more room in dry storage, coolers, and freezers. Check capacity before you commit.
- Site-level forecasting and ordering: When sites over-order, food goes to waste. When they under-order, staff substitutes ingredients, and the standardized recipe breaks down. Either way, food cost goes up.
- Plate cost: Know the cost per serving before a recipe goes on the menu. Compare the scratch version with the item it replaces. If the per-plate cost is too high, the program can lose money as each student goes through the serving line.
Adapt Every Outside Recipe to Your Own Kitchen
Recipes from USDA, other districts, or cookbooks are good starting points. They still need to be standardized in your kitchen, with your equipment and the ingredients you will actually use.
Say a standardized recipe for scratch cooking calls for frozen corn and your program buys canned corn. The two have different yields, moisture, and texture. Oven type, pan size, and batch size can also change cook times and results.
Whoever leads standardization should step away from the desk and into the kitchen. Cook the recipe with staff several times to confirm the actual yield, timing, and portion size before you finalize it.
Plan Your Taste Testing Ahead of Time
Decide how you will judge a recipe before you test it:
- Who decides whether a recipe is acceptable?
- How will staff and student feedback shape revisions?
- Which students will taste test? Include a mix of grades, schools, and meal periods.
The Institute of Child Nutrition’s guide to planning, implementing, and assessing taste-test surveys suggests testing no more than three or four items with any one student group. It also recommends deciding in advance who will facilitate, where testing will happen, and how you will collect results. In one example from that guide, Wisconsin Team Nutrition revised recipes that fell below an 85% acceptability rating and then retested them.
Review Allergens, Special Diets, and Meal Pattern Crediting
Allergens and Special Diets
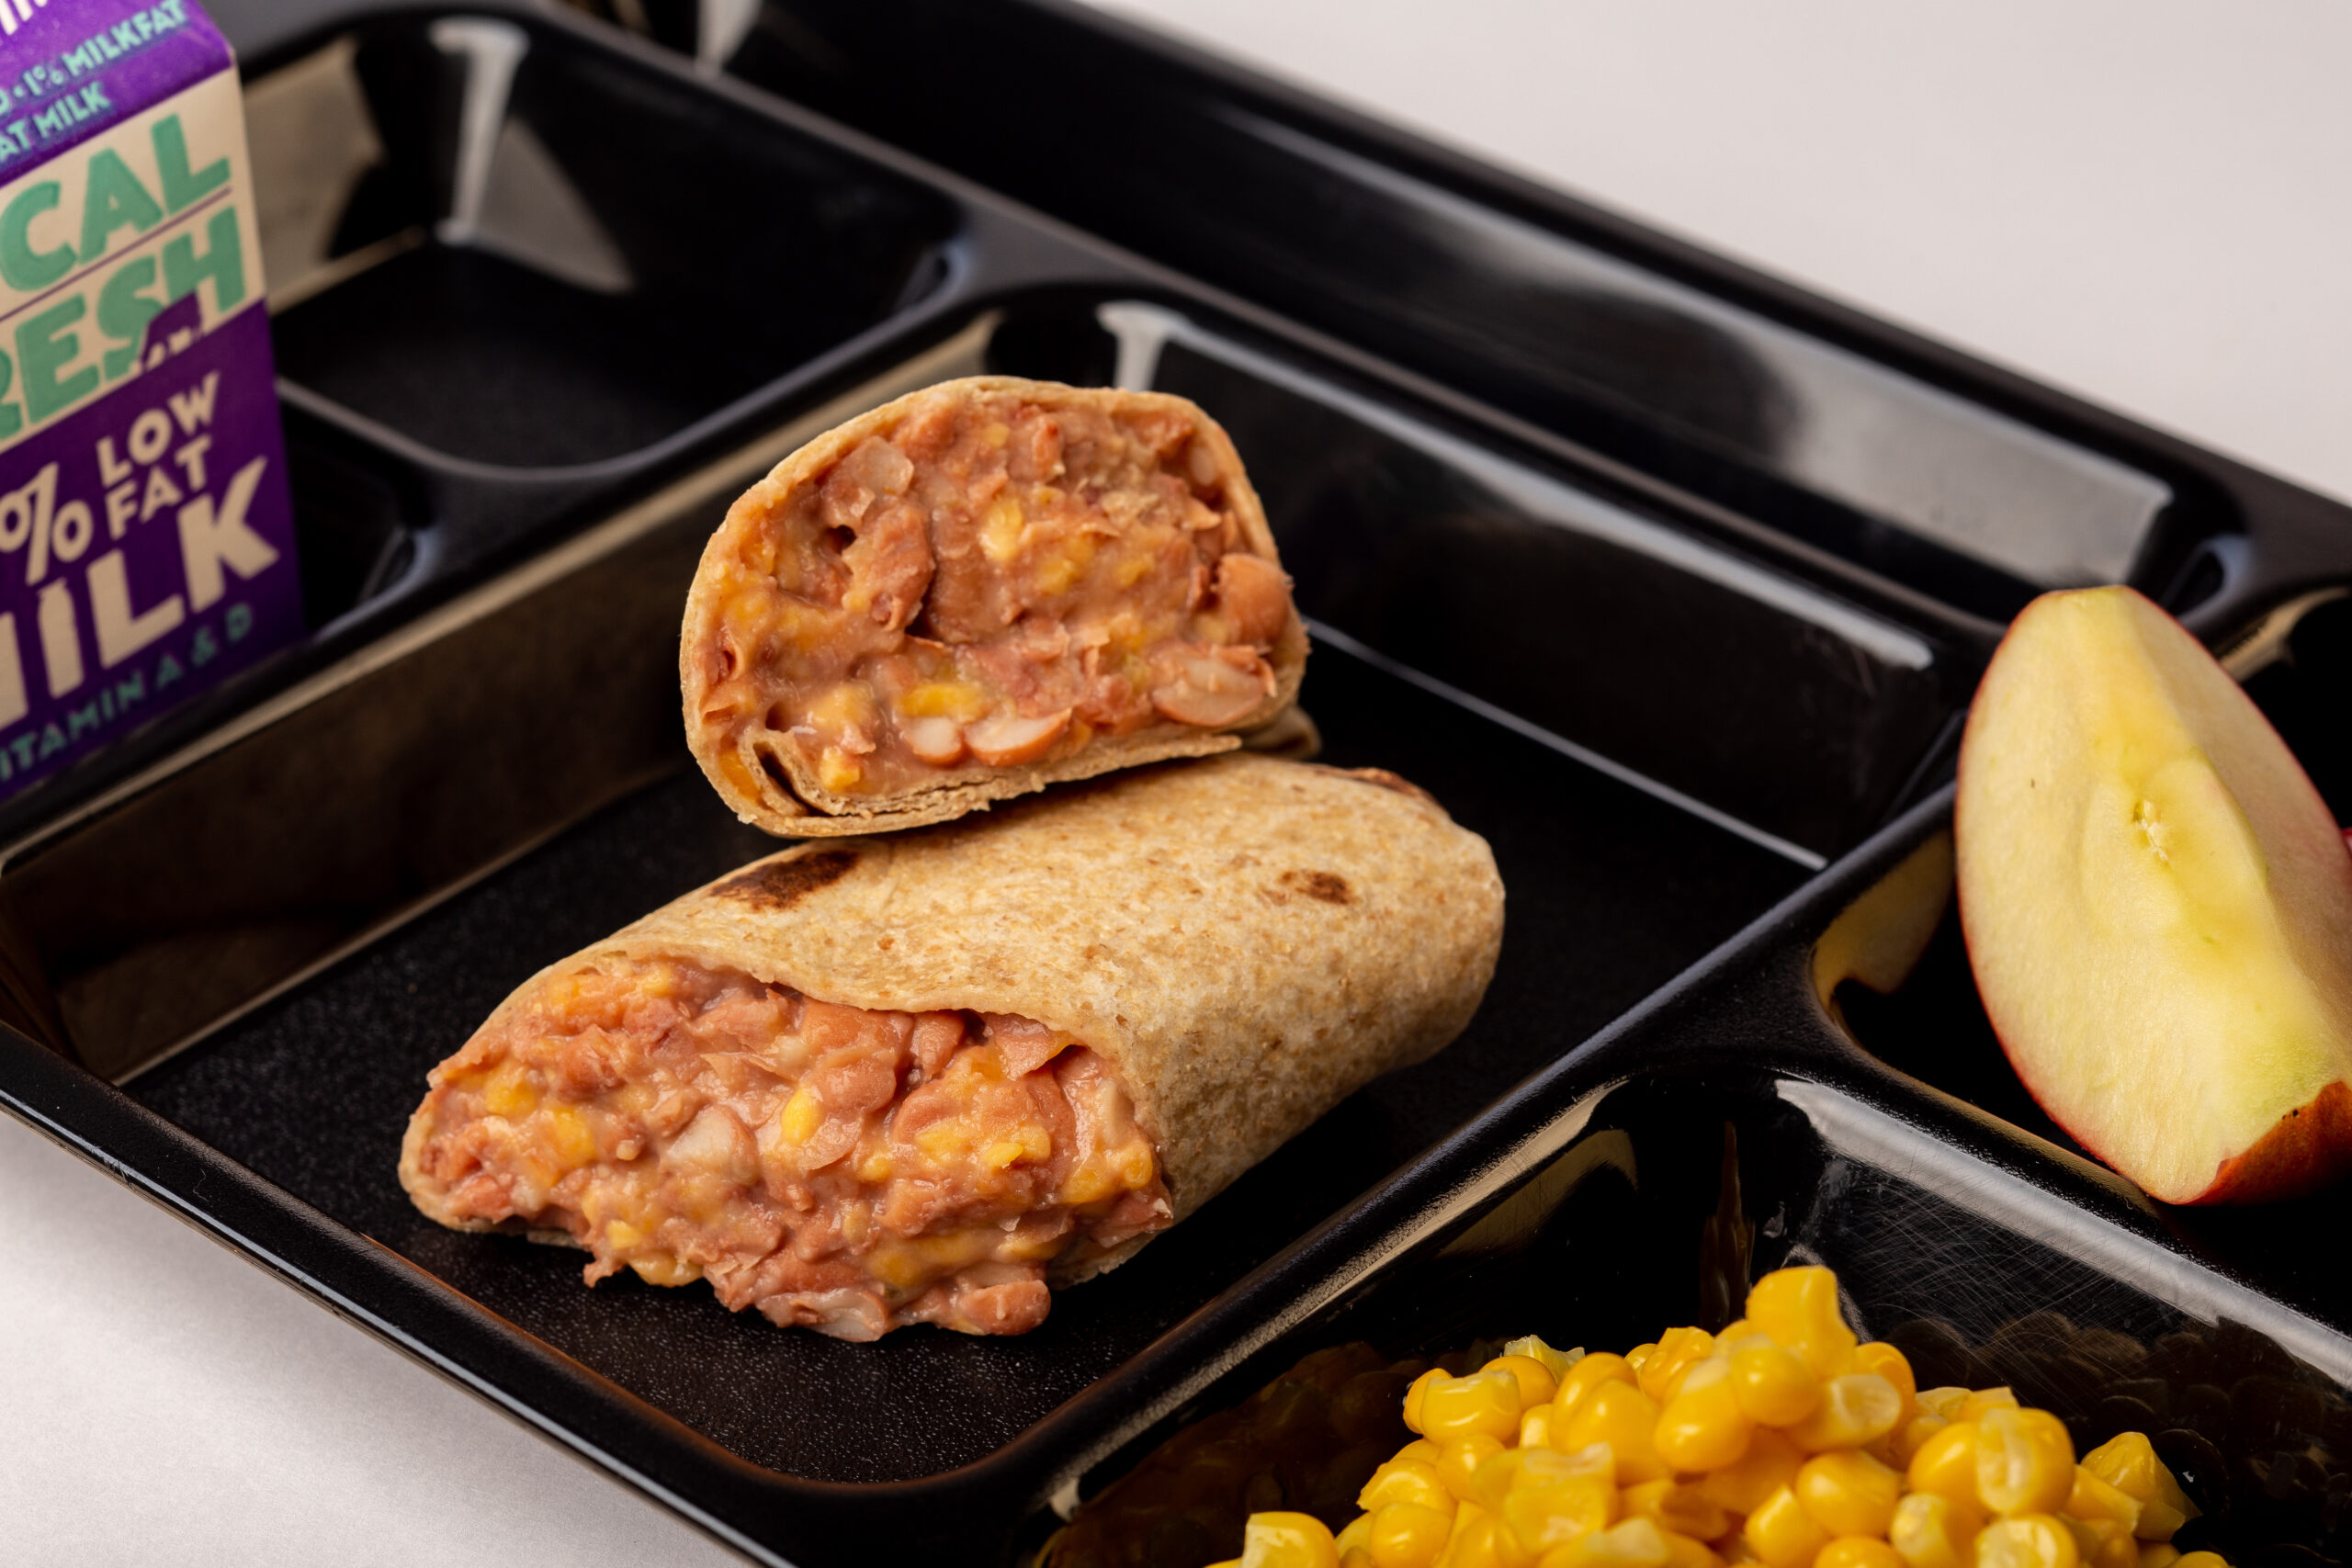
Review student allergens and special diets before a recipe goes into standardization. Check every ingredient. If a recipe will not work for students with common allergies, plan a substitution or a separate version from the start.
Meal Pattern Crediting
Decide how the recipe will credit toward the meal pattern. Which components do you need from it that week? Which nutrition targets should it help you meet? Building crediting and nutrient standards into the recipe early saves rework later.
Build Flavor With Less Sodium and Added Sugar
Menu development is one of the most powerful tools you have to help students eat better. By thoughtfully creating menus that meet USDA guidelines, you’re making sure your school’s meal program provides nutritious options that are both balanced and appealing to students.
A Timeline for Standardized Recipes for Scratch Cooking
If you plan to expand scratch cooking next school year, select and standardize your recipes between October and April. That window leaves time for several rounds of testing, taste tests, bid specifications, and staff training before summer.
Need help planning the cycle menus where standardized recipes will live? Sign up for the SproutCNP newsletter to get our free Rooted in Cycle Menus download.
Strong Standardized Recipes for Scratch Cooking Start Before the First Test Batch
A standardized recipe is only as strong as the planning behind it. When you check the math, yields, skills, labor, purchasing, students, and flavor first, the recipe you standardize is one your kitchens can make, your budget can support, and your students will eat.
If your team wants to build these skills, explore SproutCNP’s Online Training Membership for practical culinary, financial, and operational courses.
Study Questions
Review culinary math, As Purchased and Edible Portion yields, staff knife skills, labor needs, storage, and plate cost. Also plan taste testing and check allergens and meal pattern crediting before the first test batch.
Its yields are a guide, and your products, equipment, and staff skills may produce different results. Test the recipe in your kitchen and compare your actual yield and serving size to the guide.
Scratch cooking takes more hands-on prep time than heat-and-serve items, so meals per labor hour usually drop. Adjust MPLH targets and staffing plans during recipe standardization, not after the menu launches.
Yes. Standardize it in your own kitchen with your equipment and the ingredients you actually buy, such as canned corn instead of frozen. Cook it with staff several times to confirm the actual yield.
Select and standardize recipes between October and April. That leaves time for testing, taste tests, bid specifications, and staff training before summer.